Okay, I suppose all of you know what the .designer.cs file is, but I will shortly explain...
When you add a control to the page (via the markup editor), this control is also registered in the .designer.cs file, so you can have a reference to it in the code behind class (.cs).
So if you have a page Test.aspx, you will have a group of 3 files in it:
1. Test.aspx - this is the markup code, containing HTML and ASP markup, defining the control, css and so on.
2. Test.aspx.designer.cs - the designer file, where all controls are registered as a variables so you can reference them,
3. Test.aspx.cs - the code behind where you add your code. There you can use the controls, referencing them by the ID you gave them in the markup.
What happens behind the scene is that each runat="server" control is registered as a variable in the designer class like this:
protected global::System.Web.UI.WebControls.DetailsView dvMine
I recently did the following mistake - after added a lot of controls, then a lot of code, and a lot of changes to other files, I accidently got the latest version of the designer file (from the source control) of one of my aspx pages. This way I was having the controls markup, but the control registrations were lost. I wasn't able to CTRL + Z until I got my things back as I had already closed / opened the Visual Studio few times.
As a result When I hit F5 to start in debug mode, I got about 20 compilation errors, stating that I am referencing objects that don't exist.
I didn't want to re-register those controls manually in the .designer.cs, neither to delete them in the markup and re-create them (thus registration in the .designer.cs file will be automatically created).
I was wondering what to do, so I finally got the idea. I hit CTRL + K + D (which should reformat your markup) and the missing controls were auto re-created in the .designer.cs file.
Hope this helps someone out there.
May 15, 2009
May 13, 2009
Nice tool to help you build IE ready sites
I found accidently this tool:
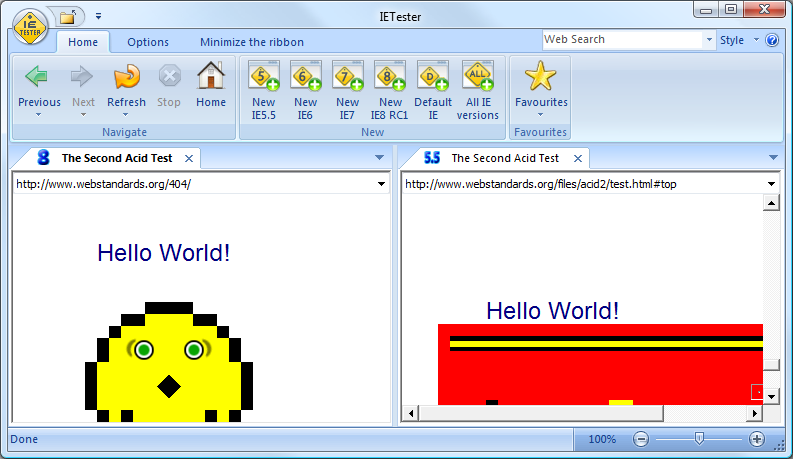
It can help you make your site run smoother under all versions of IE.
It's name is DebugBar go to the official site here.
It can help you make your site run smoother under all versions of IE.
It's name is DebugBar go to the official site here.
May 12, 2009
MindFusion Diagramming Trick 1 - Create transparent brush
As I wasn't able to find a way to create a transparent brush for the mindfusion diagrams, I thought this may be helpful for someone struggling to do the same thing.
Here is a code you can use in the code behind to create a transparent brush (in the following example I am setting the brushes for all tables to be transparent).
Here is the magic line:
DiagramView1.Diagram.TableBrush = DiagramView1.Diagram.ScriptHelper.CreateSolidBrush(System.Drawing.Color.Transparent.A, System.Drawing.Color.Transparent.R, System.Drawing.Color.Transparent.G, System.Drawing.Color.Transparent.B);
(it is kind of long but I think you will get the idea - i tought if I assign the Transparent color properties in the brush constructor, it may produce a transparent brush for me).
Note: this is for the code behind, not in JavaScript, but I think there is a way to do the same thing with JavaScript.
I think the System.Drawing.Color.Transparent.A is the field that makes the magic, this field carries the alpha channel value.
MindFusion diagramming Part 5 - Changing pen colors with JavaScript (ClientMode)
In order to change the pen (borders) of a shape you first need to instantiate a pen class.
It is in the com.mindfusion.diagramming namespace (Java class).
So you need to do the following:
var pen = new Packages.com.mindfusion.diagramming.Pen();
Now, to set the color of the pen we need a java.awt.Color instance. Luckily there are static properties which will return a color instance for the most used colors. See what I mean:
var blackColor = Packages.java.awt.Color.black;
var greenColor = Packages.java.awt.Color.green;
Now, to set the pen color to the color we will use setColor() method:
pen.setColor(Packages.java.awt.Color.green);
To set the width to be 1 pixel we need to use the floating point 0.1, not 1:
pen.setWidth(0.1);
Here is the function return a pen with 1 px border and green color:
function getGreenPen()
{
var pen = new Packages.com.mindfusion.diagramming.Pen();
pen.setWidth(0.1);
pen.setColor(Packages.java.awt.Color.green);
return pen;
}
You can now use an instance of a shape and set its pen. For example, you can use the OnNodeActivatedScript and add the following function:
function onNodeActivated(diagram, args)
{
var node = args.getNode();
node.setPen(getGreenPen());
}
Hope it helps a bit.
Subscribe to:
Posts (Atom)